Approve new employee self-join requests in AttendFirst
Review and approve employee join requests submitted through the public AttendFirst self-join link. Edit details before approving, or reject spam in one click.
The Join Requests page is where admins review employees who signed up through the public join link. Share one URL and approve submissions as they arrive, rather than entering each employee manually.
The requests list (Approvals → Join Requests)
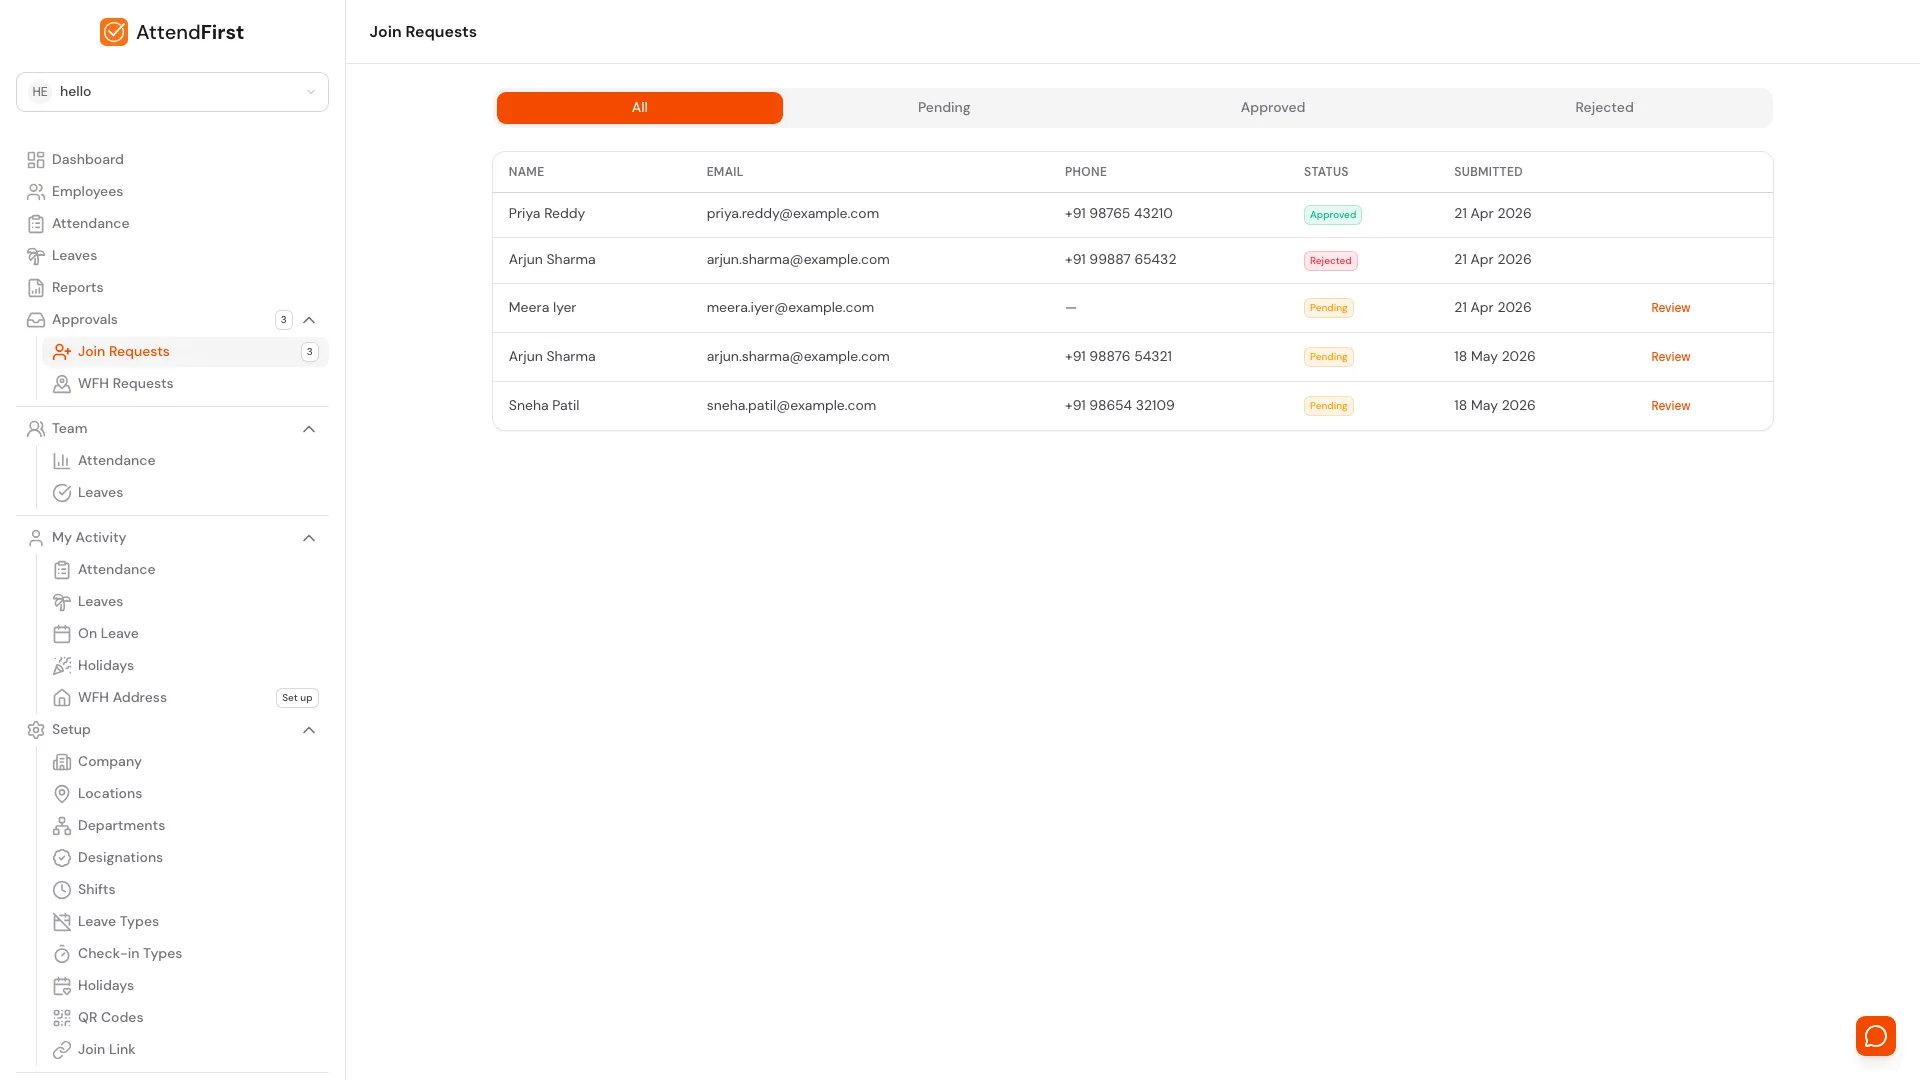
The Join Requests table. Status tabs filter the view; pending rows show a Review link.
Open Approvals → Join Requests. The table shows these columns:
- Name: the name the employee entered on the public form.
- Email: their email address.
- Phone: phone number, or a dash if they did not provide one.
- Status: Pending, Approved, or Rejected (colour-coded badge).
- Submitted: the date the request came in.
Four tabs sit above the table: All, Pending, Approved, and Rejected. Click Pending to see only submissions that need a decision. The filter persists in the URL, so you can bookmark that view.
Reviewing a request
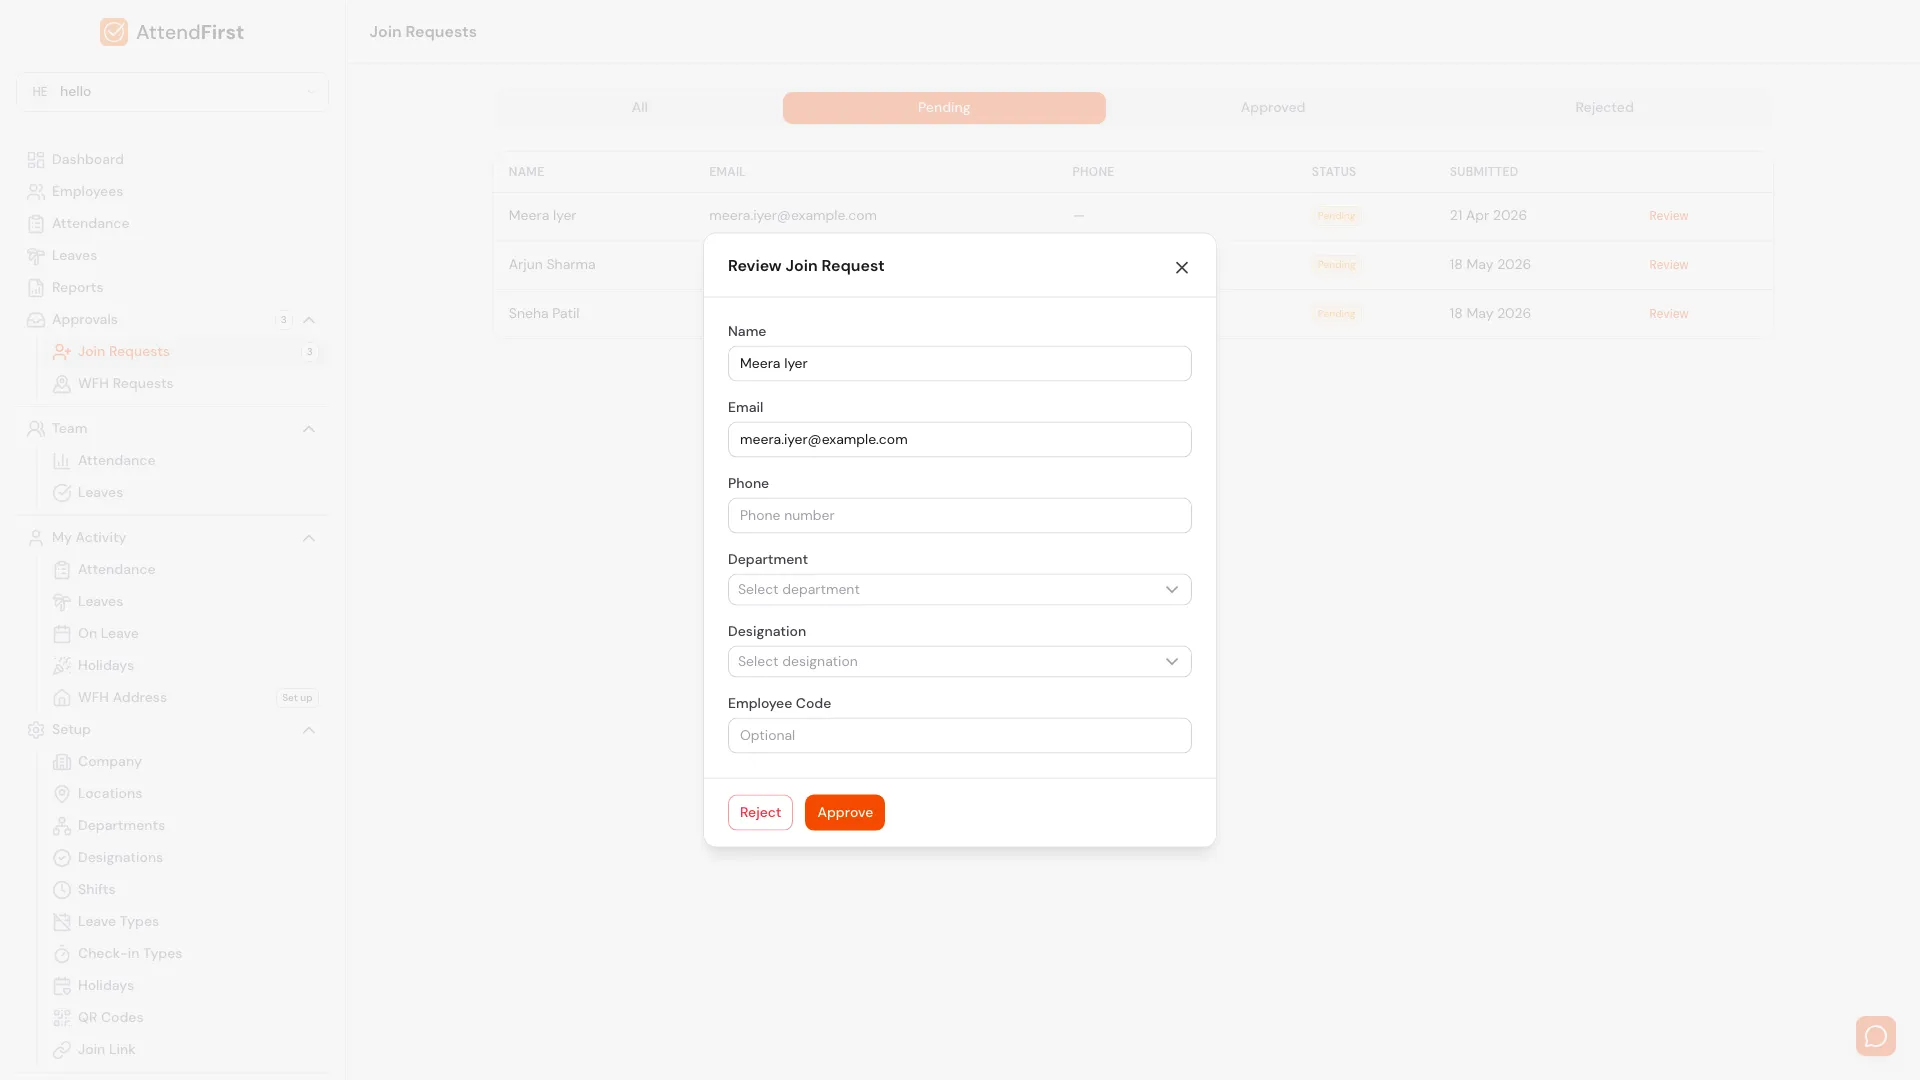
Review modal. Every submitted field is editable before the account is created.
Click Review on any pending row. A modal opens with the employee’s details pre-filled:
- Name: editable.
- Email: editable. This is the address that receives the welcome email.
- Phone: editable.
- Department: pick from the dropdown of your configured departments, or leave blank.
- Designation: pick from the dropdown of your configured designations, or leave blank.
- Employee Code: optional. Enter a custom code if your company uses internal IDs.
Edit any field before acting on the request - useful when an employee misspelled their name or selected the wrong department.
Approve and reject flow
Approve
Click Approve. AttendFirst:
- Creates an active employee record with the values from the modal.
- Sends a welcome email to the entered address with a login link and a one-time password.
- Moves the request to the Approved tab with an Approved badge.
- Invalidates cached employee counts so the admin sidebar and dashboard update.
The new employee can sign in straight away and appears on every attendance and leave page immediately.
Reject
Click Reject. AttendFirst:
- Marks the request as rejected.
- Moves it to the Rejected tab.
- Does not email the requester.
- Keeps the row for audit. You cannot un-reject - if the person reapplies, they must submit through the public link again.
Use rejection for obvious spam, test submissions, or duplicates.
All three states together
The All tab shows every submission with a colour-coded status. Only Pending rows keep the Review link.
The All tab is the audit view. Approved and Rejected rows are frozen - no Review link, no three-dot menu. Only Pending rows are actionable. Use the status-specific tabs to filter:
- Pending: submissions still needing a decision. Check daily if you share the join link on WhatsApp.
- Approved: everyone who came in through self-join.
- Rejected: spam and test submissions, archived for compliance.
Frequently asked questions
Who can see join requests?
Only admins. The Join Requests page is hidden from managers and employees.
What happens on approval?
An employee account is created immediately. A welcome email is sent with login details. The new employee appears in the employee list and can sign in right away.
Can I edit details during review?
Yes. The review modal lets you change name, email, phone, department, designation, and add an employee code before the account is created.
What about spam requests?
Reject them. The requester is not notified, and the submission is archived under the Rejected tab.
Can I un-reject a request?
No. Rejected requests are final. Ask the person to submit again through the join link.
Does rejection send an email?
No. Only approvals trigger notifications.
Related docs
- Self-join link. How the public join link works and how to share it.
- Managing employees. Managing employees after they have been approved.
Steps
- Open Join Requests. Go to Approvals → Join Requests. The All tab opens by default with every request across statuses.
- Click Review on a pending request. Find the row you want to act on and click the Review link. A modal opens with the employee's submitted details.
- Edit details if needed. Update the name, email, phone, department, designation, or add an employee code before approving.
- Approve or reject. Click Approve to create the employee account and send a welcome email. Click Reject to dismiss the request.
- Check approved or rejected history. Switch to the Approved or Rejected tabs to see past decisions.
Frequently asked questions
Who can approve join requests?
Only admins. Managers and employees do not see the Join Requests page.
What happens when I approve a join request?
AttendFirst creates an employee account with the details from the modal and sends a welcome email with login credentials.
Can I change the employee's department or designation during approval?
Yes. The review modal lets you pick a different department or designation before approving. You can also add an employee code.
What if someone submits a fake or spam request?
Click Reject. The request is marked as rejected and the person is not notified.
Does the employee get notified if I reject their request?
No. Only approved requests trigger a welcome email.
Can I approve a request after rejecting it?
No. Rejected requests are final. Ask the employee to submit a new join request through the public link.