Manual attendance entry in AttendFirst - admin backfill
How AttendFirst admins backfill attendance for past dates. Covers the backfill form, the sessions panel, how to edit or delete sessions, and audit notes.
Manual attendance is the admin backfill flow for days an employee couldn’t or didn’t check in. You pick the employee, the date, and the status, and AttendFirst writes an attendance record identical to a real check-in. The entry appears on the daily report immediately and rolls into monthly aggregates the same way.
Phones die, office Wi-Fi drops, and someone always forgets to check out at least once. Without backfill, the monthly report shows them Absent and the admin has to chase corrections through support tickets or spreadsheets.
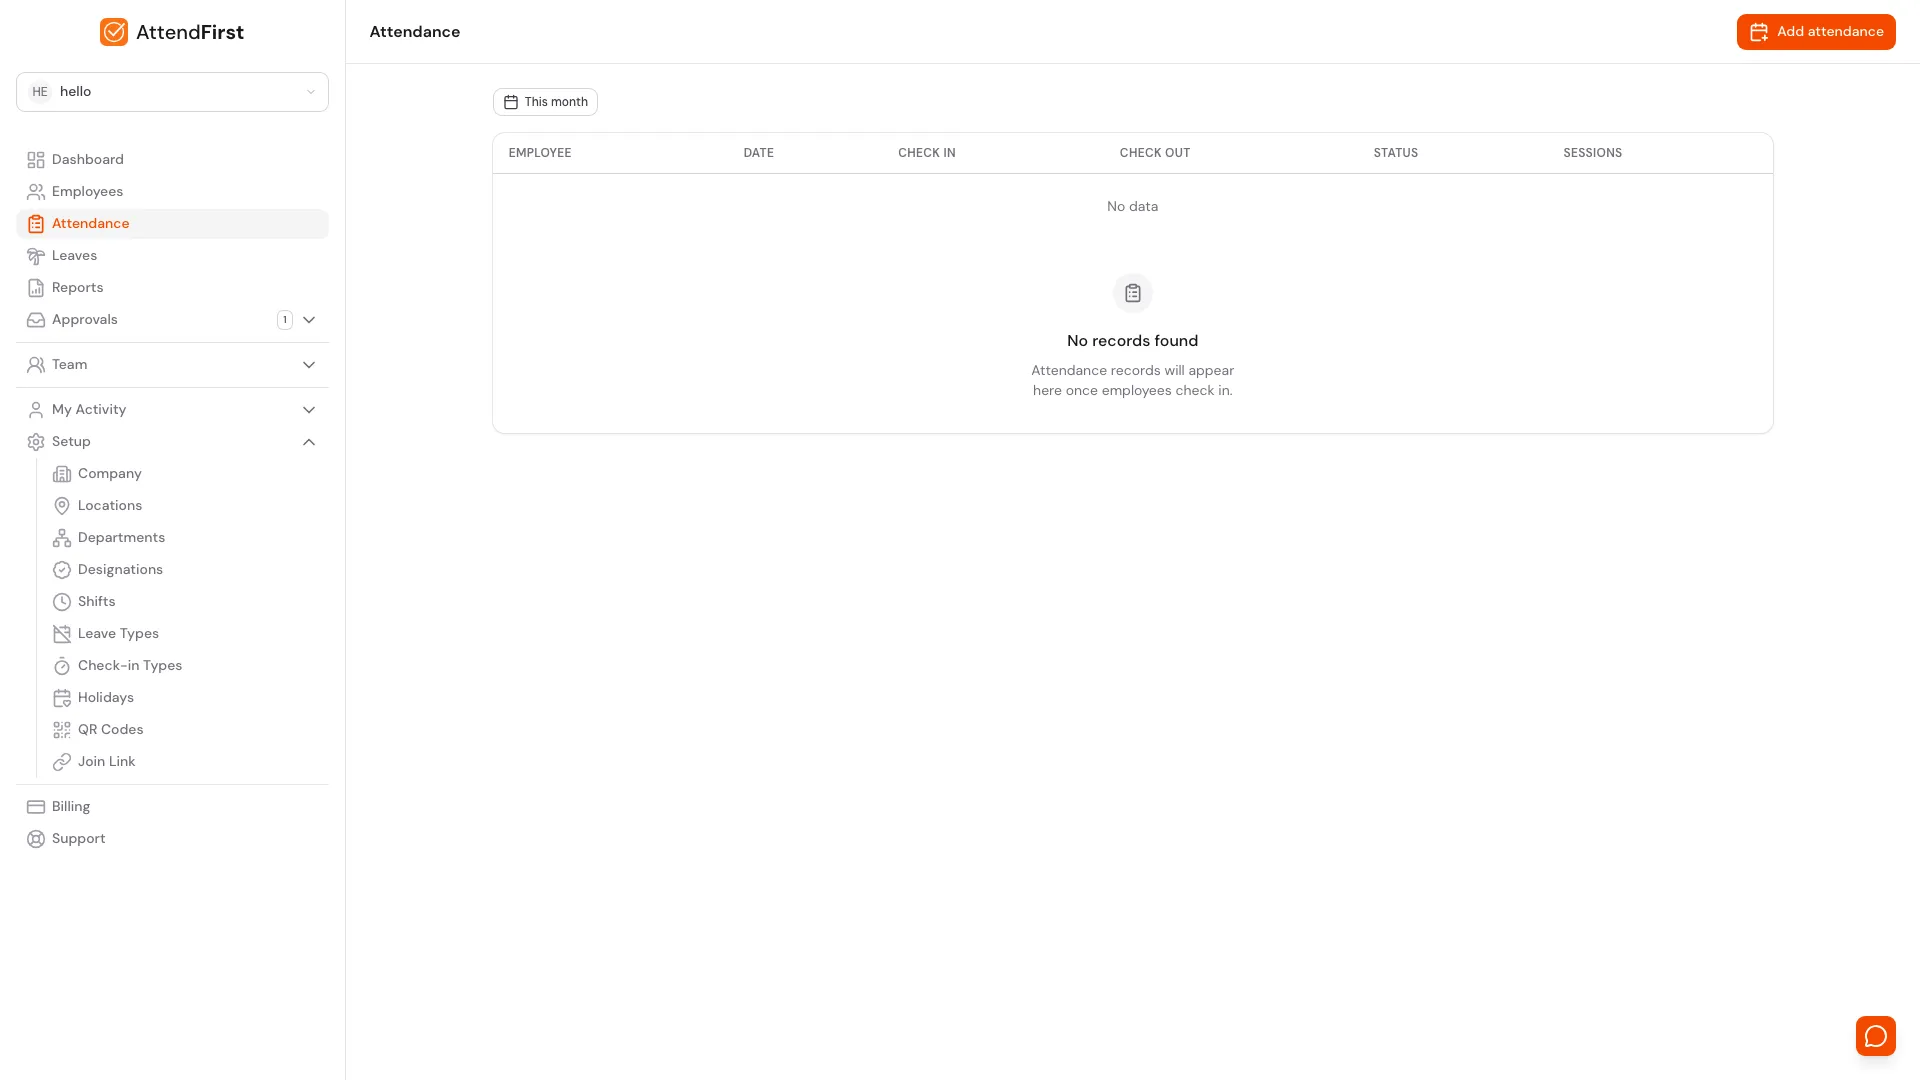
/admin/attendance. Add attendance sits in the top right; the filter row controls the date range below.
When to use it
- An employee’s phone was dead and they couldn’t check in.
- Your office Wi-Fi went down and nobody could reach the app.
- Someone forgot to check out, and the session ran past midnight.
- A half-day was worked but the check-in was skipped entirely.
- You want to correct a status from Late to Present after reviewing evidence.
Every manual entry is created by an admin account, so the audit trail is always clear.
How to add a manual entry
There are two ways into the same form:
- From the Attendance page (
/admin/attendance): click Add attendance in the top right. Pick the employee inside the form. - From an employee profile: open the employee, switch to the Attendance tab, and click Add attendance. The employee is pre-selected.
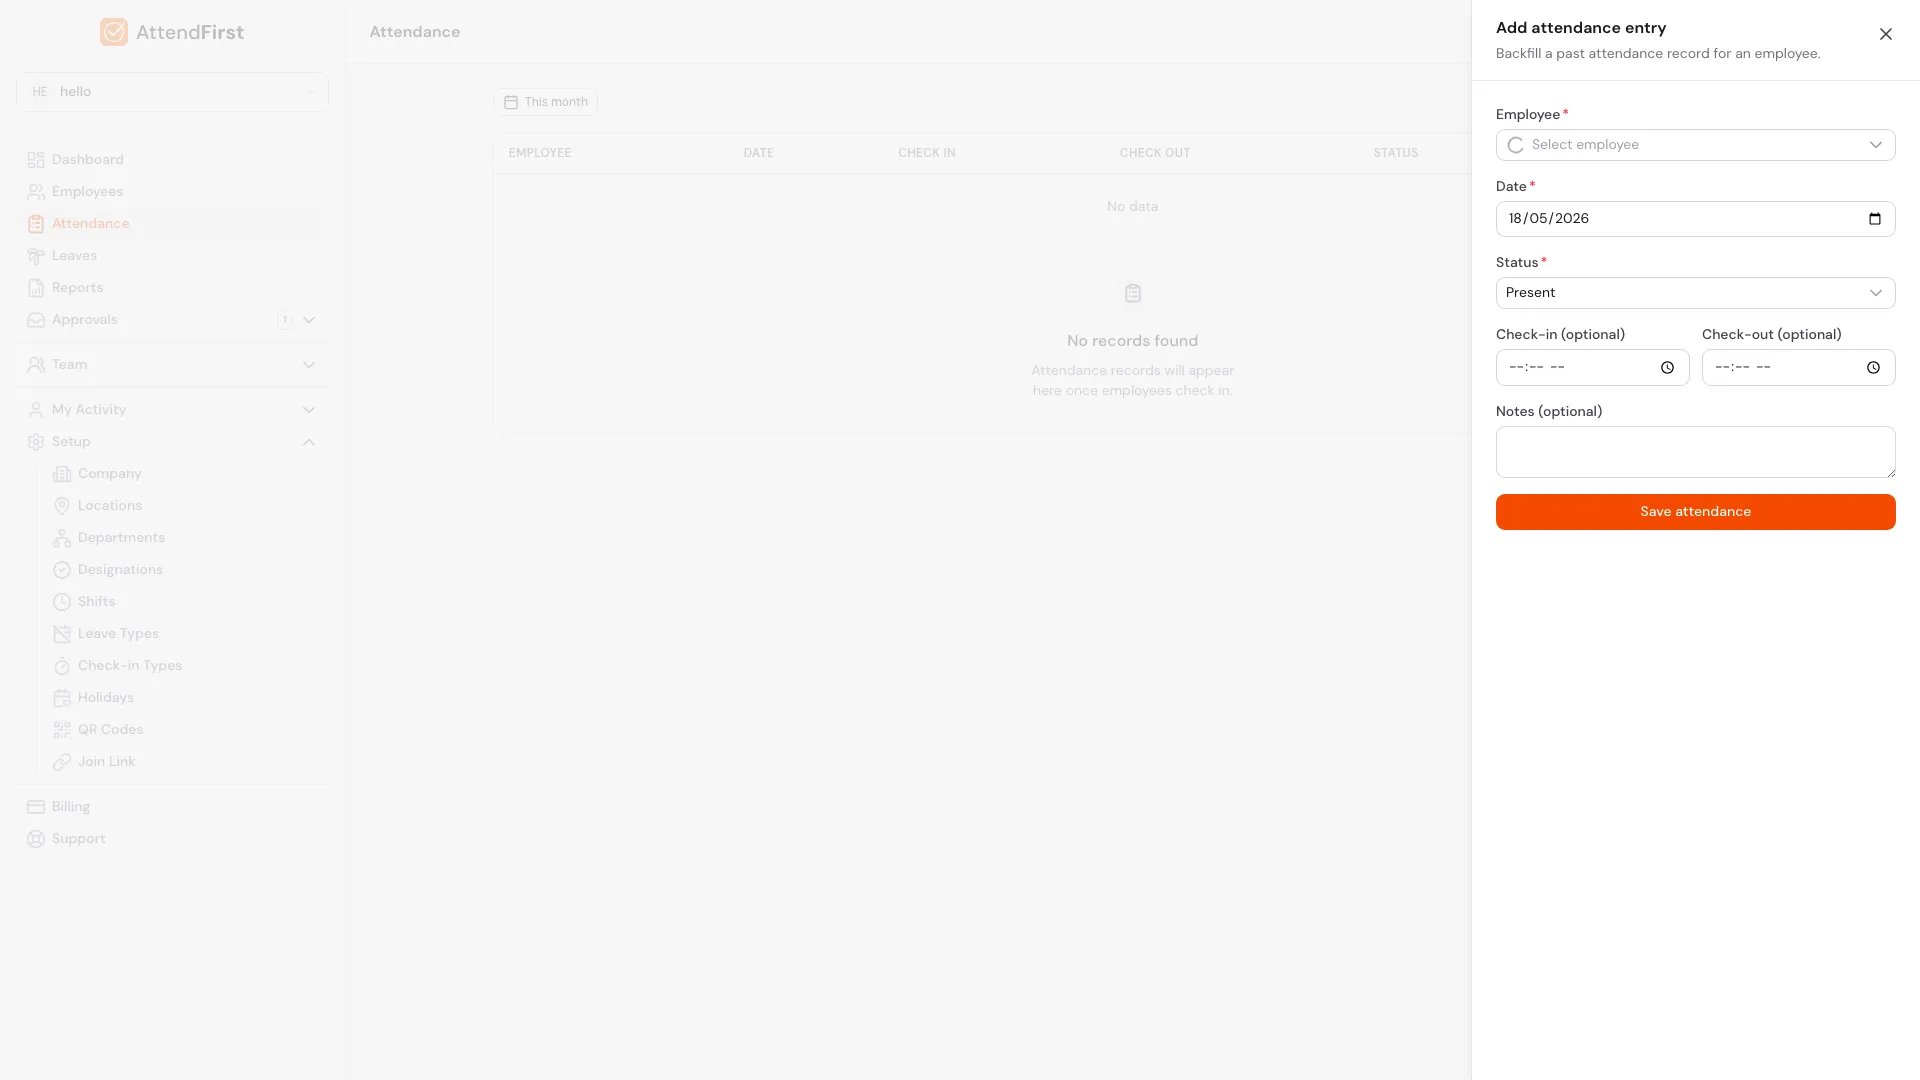
Backfill slideover. Employee, date, and status are required; check-in, check-out, and notes are optional.
Fields:
| Field | Required | Notes |
|---|---|---|
| Employee | Yes | Any active employee in your company. Pre-filled on profile. |
| Date | Yes | Any past date up to today. |
| Status | Yes | Present, Late, Half day, or Absent. |
| Check-in | Optional | Time in HH:MM. Stored as the date’s check-in time. |
| Check-out | Optional | Time in HH:MM. Stored as the date’s check-out time. |
| Notes | Optional | Up to 500 characters. Visible on the attendance record. |
Click Save attendance. The entry appears immediately on the attendance list for that date and rolls into monthly aggregates straight away.
Opening a day’s sessions
A single attendance row is a whole day. To see what actually happened inside it - every check-in, the GPS result, the selfie - click View details on that row. The Sessions panel slides in from the right.
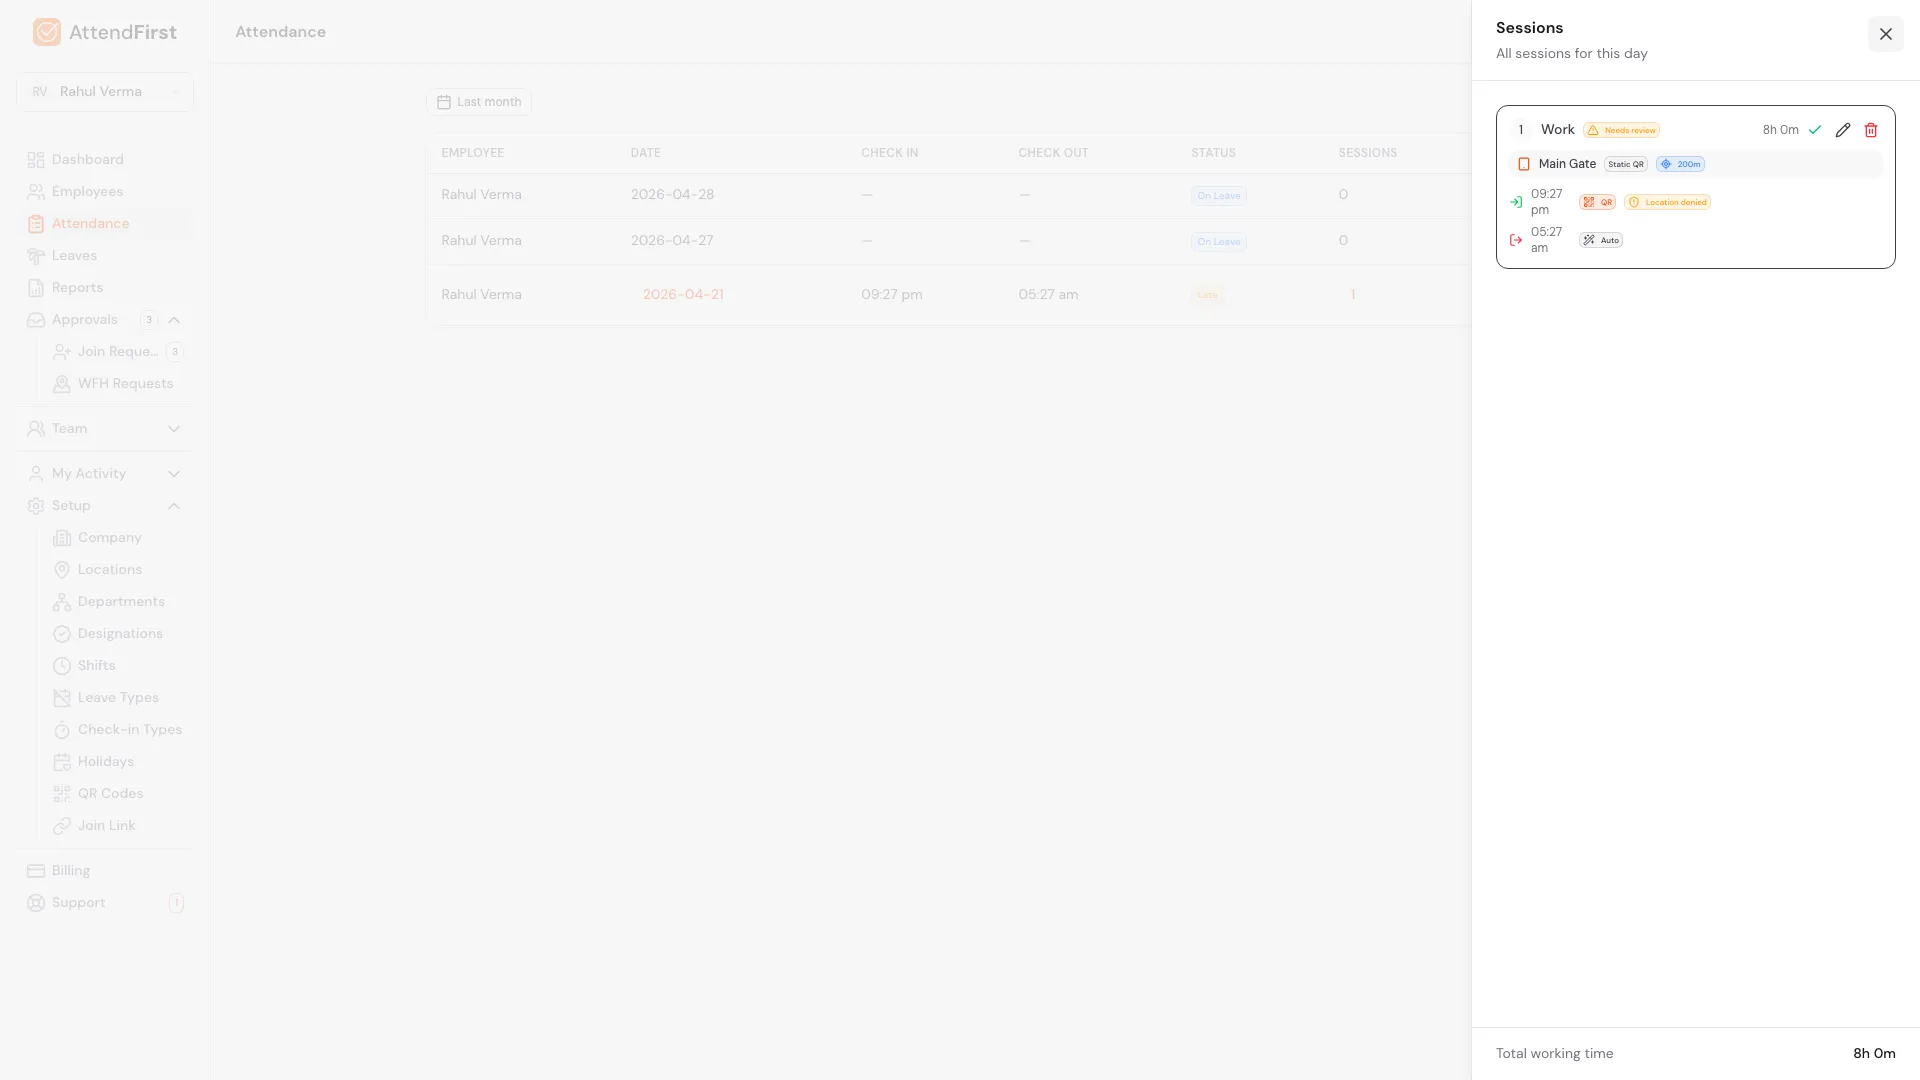
The Sessions panel. Each session shows its method, GPS result, selfie, and device, with edit and delete on the right.
The same panel opens whether you click View details, the date, or the session count - they all lead here. Each session in the list shows:
- The session type - Work, Lunch Break, Site Visit - with a number and badges: Break, Active (still open), the location kind (Office, WFH, Field), Edited, and Needs review or Reviewed.
- A device row, if the check-in came from a QR device - the device name, type (Static QR or Rotating QR), its geofence, and whether it requires a selfie.
- A check-in row - the time, the method (GPS, Selfie, QR, Manual, Auto), the GPS result (Inside geofence, Outside geofence, Location denied, No geofence set), the selfie thumbnail if one was captured, and a Location link that opens the coordinates in Google Maps.
- A check-out row - the same fields for the check-out.
The footer totals the day’s working time. This panel is how an admin verifies a check-in: a selfie plus an Inside geofence result is solid proof; a Location denied flag is a prompt to follow up.
Reviewing flagged sessions
A check-in or check-out that failed its geofence carries a Needs review badge. Click the checkmark on that session once you have confirmed it is genuine - the badge changes to Reviewed and records who cleared it and when.
Editing or deleting a session
Two icons sit on the right of every session:
- Pencil - Edit session. Adjust the check-in and check-out times, override the Work from location kind, and add an optional reason. Every edit is written to the audit log and the session gets an Edited badge.
- Trash - Delete session. Asks for confirmation, then removes the session and recalculates the day’s totals.
The employee sees the updated record in their own attendance view but cannot edit it.
Rules and constraints
- Backfill is limited to past dates and today. Future dates are not allowed.
- Manual entries for a day that already has real sessions take precedence on the status and times you set - the captured session data stays in history but the displayed status reflects your override.
- You cannot create manual entries for inactive employees on dates after their deactivation.
- Holidays and weekends can be manually marked as Present if your team worked that day.
Frequently asked questions
Will manual entries show up on the monthly report?
Yes. They are counted in the aggregate alongside check-in-driven entries on both the daily and monthly views.
Can managers backfill their team’s attendance?
Not today. Manual attendance is admin-only. Managers can approve leaves but cannot add or edit attendance records.
How far back can I backfill?
Any date since the employee’s joining date. There’s no 30-day cutoff or any other limit. Keep in mind that backfilling a closed payroll month may force a payroll correction.
What statuses can I set?
Four: Present, Late, Half day, Absent. Use Absent if you want the date documented (for example with a reason in the notes) but with no work credit.
Can I add the same entry for multiple employees at once?
Not in one action. Repeat the flow for each employee. The slideover stays open after a save so you can switch employees and re-submit.
How do I see the GPS location and selfie for a check-in?
Click View details on the day’s row. The Sessions panel opens with every session, each showing its check-in method, GPS result, selfie photo, and a map link to the captured coordinates.
Related docs
- Check in and check out. The normal flow that produces these records.
- Managing employees. Open a profile to backfill for one person at a time.
- Reports and CSV export. Where manual entries roll up into month-end totals.
- Attendance status reference. Every status code you can set manually.
Steps
- Open the Attendance page. Go to Attendance. The Add attendance button sits in the top right. You can also backfill for a single employee from their profile Attendance tab.
- Click Add attendance. A slideover opens titled Add attendance entry. Pick the employee, the date, the status, and optionally check-in and check-out times.
- Add a note. Use the Notes field to record why the override was needed. Up to 500 characters. Notes are preserved with the attendance record.
- Save the entry. Click Save attendance. The entry appears immediately on the attendance list for that day.
- Review or edit a day later. Click View details on any row to open the Sessions panel, then use the pencil to edit times or the trash to delete a session.
Frequently asked questions
Will manual entries show up on the AttendFirst monthly report?
Yes. They are counted in the aggregate alongside check-in-driven entries. The status, check-in time, check-out time, and notes you entered all appear on the daily and monthly reports.
Can managers backfill attendance for their team?
Not today. Manual attendance is admin-only. Managers can approve leaves but cannot add or edit attendance records.
How far back can I backfill attendance in AttendFirst?
Any date since the employee's joining date. There is no fixed cutoff. Backfilling a closed payroll month may require a payroll correction.
What statuses can I set manually?
Present, Late, Half day, and Absent. Use Absent if you want the date logged with a note but no work credit.
Can I backfill attendance for a single employee in bulk?
Not in one action. Open the employee profile, switch to the Attendance tab, and use the Add attendance button repeatedly. Each entry is a separate save.
How do I see the GPS location and selfie for a check-in?
Click View details on the day's row on the Attendance page. The Sessions panel opens with every session, each showing its check-in method, GPS result, selfie photo, and a map link.