Onboarding: set up AttendFirst for your team in 2 minutes
Register your company in AttendFirst, confirm timezone and working hours, add your first employee, share the join link, and reach the admin dashboard.
You can go from signup to a working attendance system in about two minutes. The wizard has four steps and lands you on the dashboard with an activation banner that tracks your first check-in. The employee step is skippable. Come back to it later, or share the join link and let your team add themselves.
Flow overview
- Register the admin and company.
- Confirm timezone, work days, and working hours.
- Add the first employee. Optional and skippable.
- Share the join link with the rest of the team.
- Land on the dashboard with an activation banner that tracks first check-in.
Until onboarding is complete, any page other than the setup wizard redirects back to the wizard, so new admins don’t land inside an empty product.
Step 1: Create your account
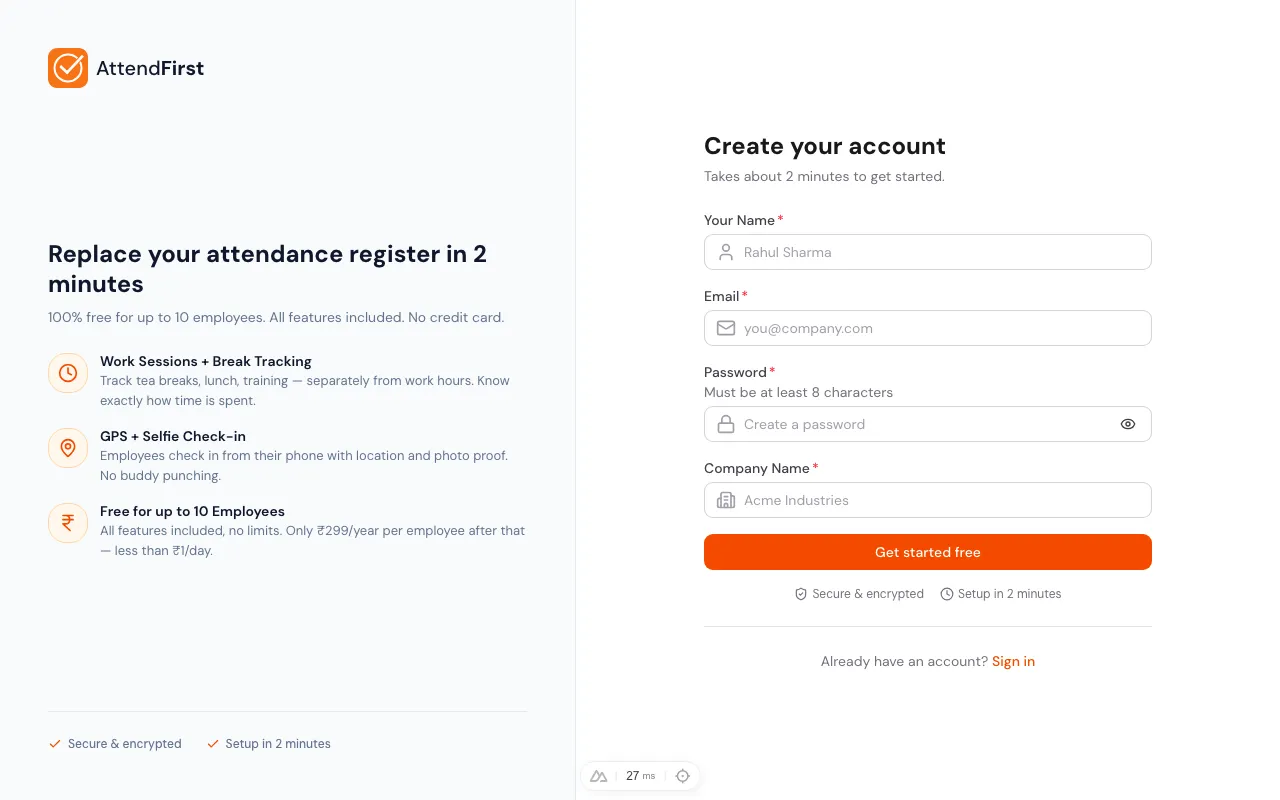
Sign up at app.attendfirst.com/register. The form asks for four things: Your Name, Email, Password (minimum 8 characters), and Company Name. Click Create Account. AttendFirst creates your account and your company together, logs you in, and takes you to the setup wizard.
- If the email already exists, the error becomes a link to Login or Forgot password.
- The Password field validates in the browser, so you see errors before submitting.
Step 2: Company setup
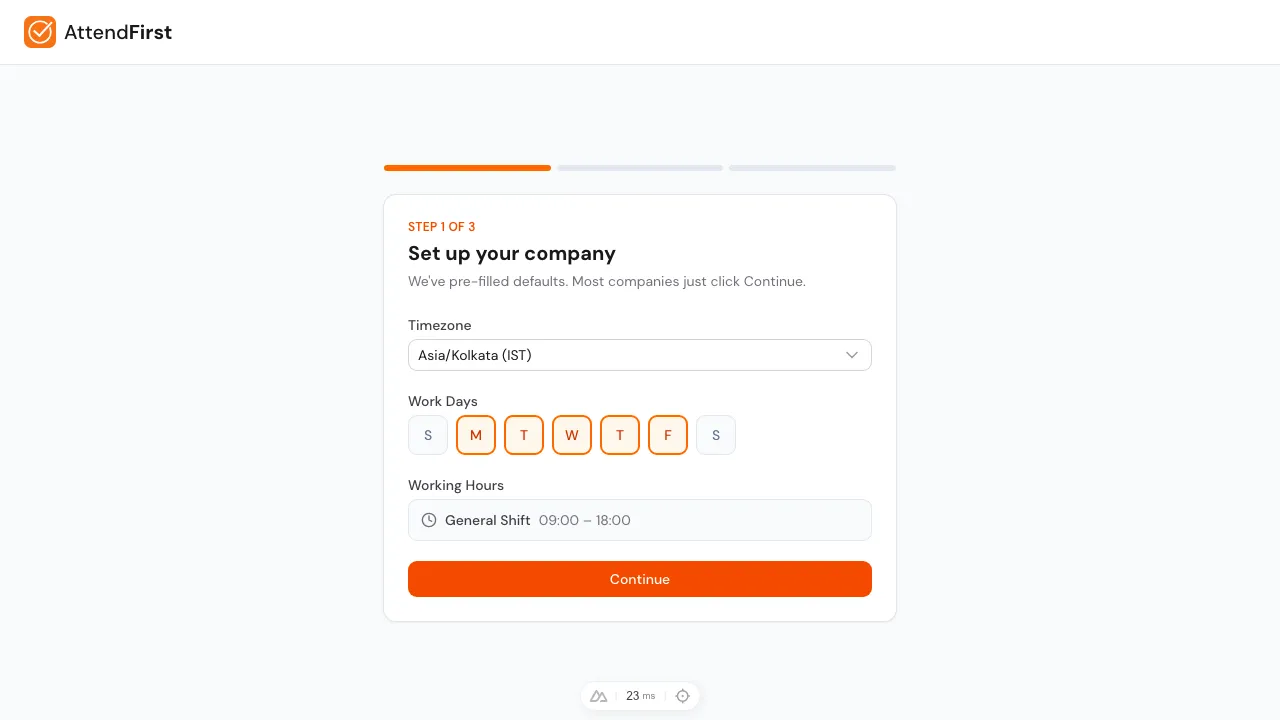
Step 1 of the wizard. Timezone, work days, working hours. Defaults are pre-filled.
The first wizard step collects the minimum company configuration. Defaults are pre-filled so most Indian SMBs can click Continue without changing anything.
- Timezone: defaults to Asia/Kolkata. You can also pick Sri Lanka, Bangladesh, Nepal, UAE, Singapore, UK, or US-East.
- Work Days: defaults to Monday through Friday. Toggle any day with the pill buttons.
- Working Hours: shows your default shift, General Shift 09:00 to 18:00.
Click Continue. AttendFirst saves the settings and moves you to step 2. See Working hours and shifts for how to change these later or add more shifts.
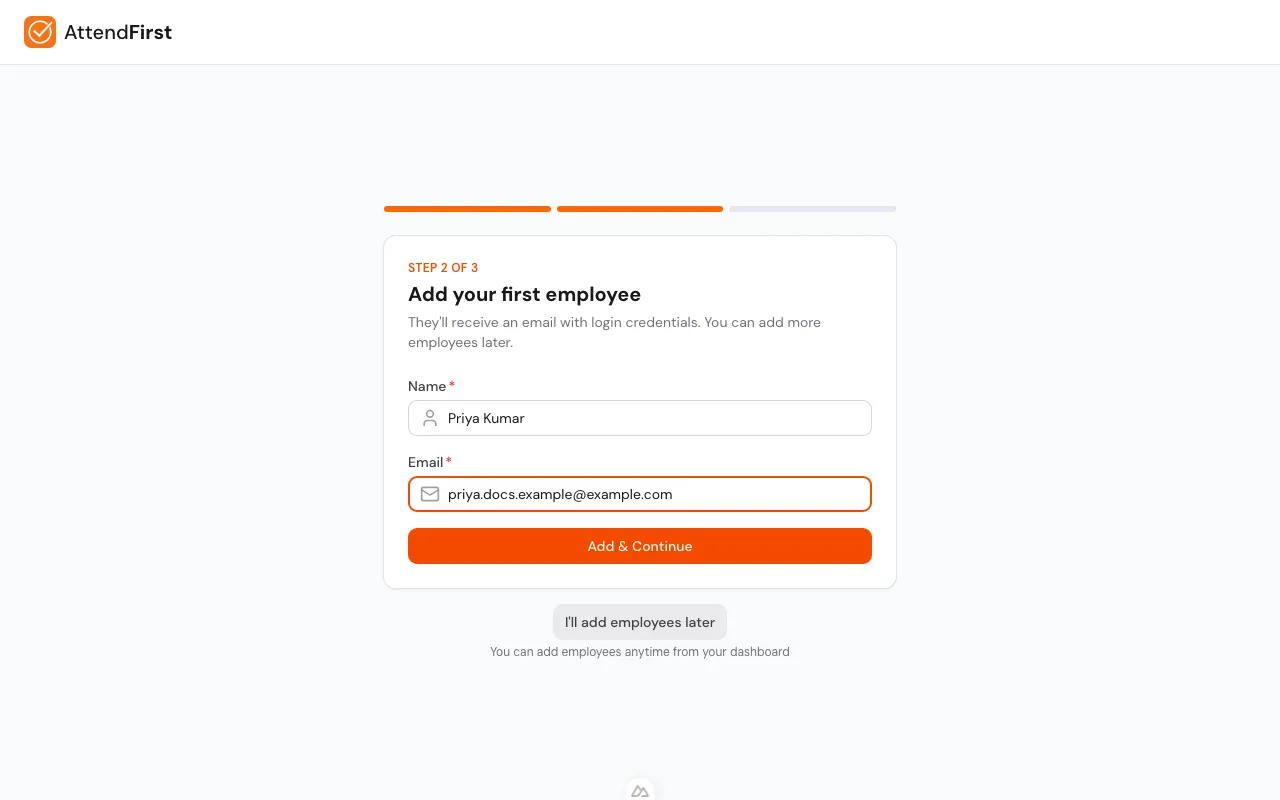
Step 3: Add your first employee
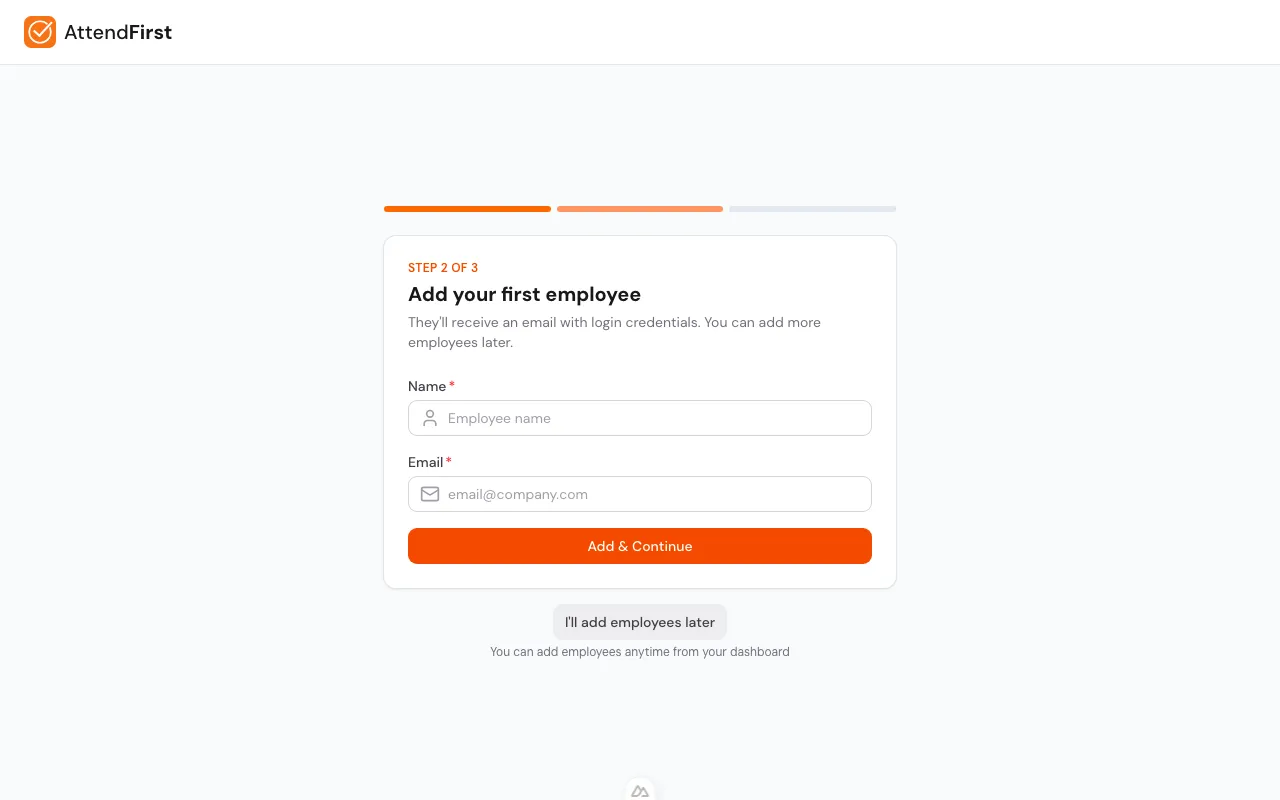
Step 2 is a one-row form: Name and Email. Submitting creates the employee and sends them a welcome email with their login and a one-time password.
- After the first add, the primary button becomes Continue and a secondary Add another employee button appears. Batch-add before moving on.
- The I’ll add employees later link below the card skips to step 3 without creating anyone.
- Successful adds flash a green confirmation and the dashboard headcount updates immediately.
Most admins skip this step and use the join link instead. See self-join.
Step 4: Share the join link
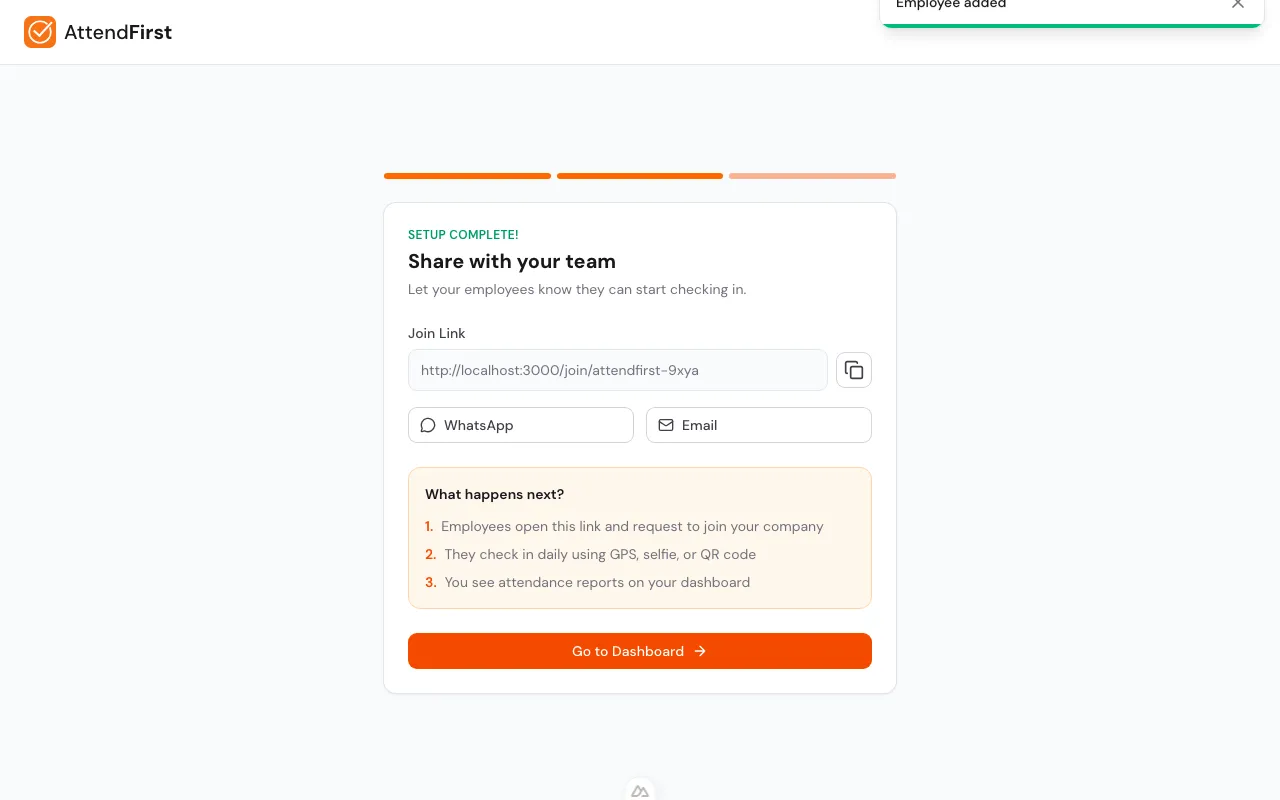
The final step gives you a join URL like https://app.attendfirst.com/join/<your-company-slug>.
Anyone in the company can open it and submit their details. Three share shortcuts:
- Copy: copies the URL to the clipboard and flashes a confirmation.
- WhatsApp: opens WhatsApp with a pre-filled message including the URL.
- Email: opens your mail client with subject and body already filled in.
- Go to Dashboard: marks onboarding complete and takes you to the dashboard.
Details on the join flow: Employee self-join link.
Step 5: Dashboard with activation banner
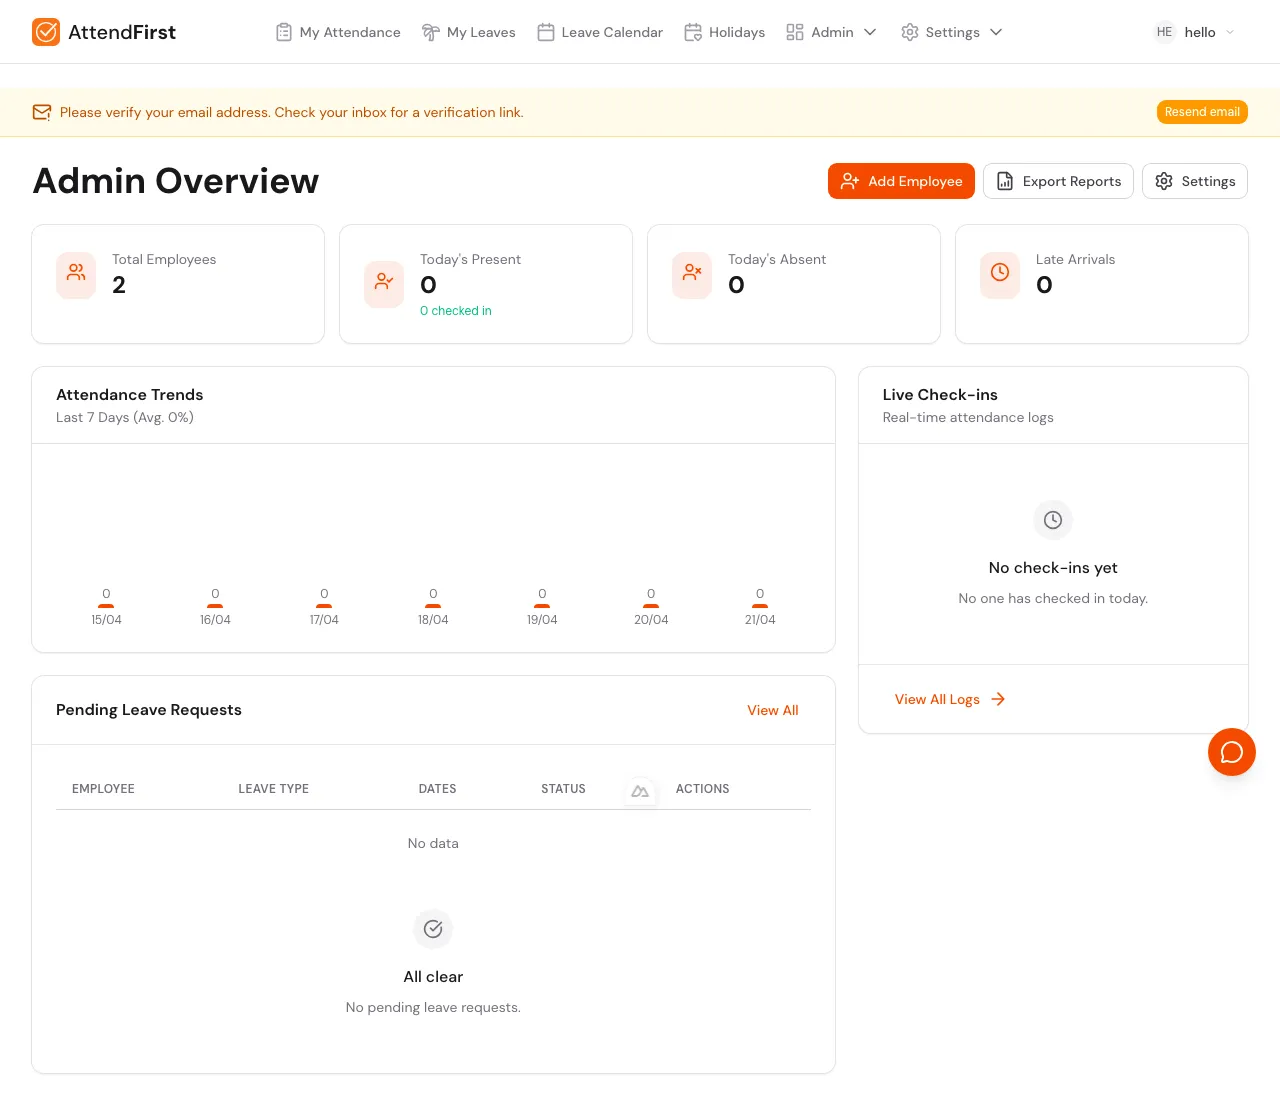
The activation banner tracks three milestones that matter for first-run value.
The dashboard shows a Getting Started banner tracking the three milestones that correlate with teams who stick around:
- Company setup: always done once a company exists.
- Add employee: ticks when you have at least one employee.
- First check-in: ticks when anyone in the company checks in for the first time. The action on this row copies the join link to the clipboard.
The banner is dismissible and stays dismissed on that browser. Once all three milestones are complete it auto-hides.
Frequently asked questions
How long does onboarding really take?
About two minutes if you use defaults. Longer if you’re typing out a full shift schedule or adding a dozen employees by hand. Most admins add one employee, share the join link, and let the rest of the team onboard themselves. That takes under a minute.
Can I skip onboarding entirely?
You can skip step 2 (the first employee), but you must complete step 1 (company setup). The wizard won’t let you reach the dashboard without a timezone and work schedule, because every attendance calculation depends on them.
What if I registered with the wrong company name?
Go to Setup → Company and update it after reaching the dashboard. The company name appears on employee welcome emails, CSV exports, and the login page. Changes apply to new emails and exports only.
Do I need a credit card to sign up?
No. AttendFirst is free for up to 5 employees with every feature included. Teams of 6 to 10 pay ₹2,500/year flat. The per-seat rate starts from the 11th employee at ₹499 per employee per year (launch price).
Can I invite a co-admin during onboarding?
Not in the wizard. After onboarding, add them as an employee. UI-driven admin promotion isn’t exposed yet - reach out to support if you need to grant admin rights to another employee.
Related docs
- Self-join link. The next step most admins take to onboard the whole team.
- Working hours and shifts. Adjusting the defaults you accepted in step 2.
- Managing employees. What to do after people have joined.
Steps
- Create your account. Register at app.attendfirst.com/register with your name, email, password (min 8 chars), and company name. Creates the admin user and company together.
- Set timezone and work days. Confirm Asia/Kolkata timezone, Monday-Friday work days, and the default 09:00-18:00 shift. Defaults work for most Indian SMBs.
- Add your first employee. Enter an employee's name and email. AttendFirst sends them a welcome email with login. Optional step: skip if you plan to use the self-join link.
- Share the join link. Copy the company join URL or share it directly via WhatsApp or email. Employees submit their own details instead of you adding each one.
- Land on the dashboard. Click Go to Dashboard. The activation banner tracks the first check-in. Company is live and ready to use.
Frequently asked questions
How long does AttendFirst onboarding take?
About two minutes if you use defaults. Most admins add one employee, share the join link on WhatsApp, and let the team onboard themselves.
Can I skip onboarding entirely?
You can skip step 2 (first employee), but not step 1 (company setup). Timezone and work schedule are required because every attendance calculation depends on them.
Do I need a credit card to sign up for AttendFirst?
No. AttendFirst is free for up to 5 employees with every feature included. Teams of 6 to 10 pay ₹2,500/year flat. Billing for the per-seat rate starts from the 11th employee at ₹499 per employee per year (launch price).
Can I invite a co-admin during onboarding?
Not in the wizard. After onboarding, add the co-admin as an employee. UI-driven admin promotion is not yet exposed - contact support to grant admin rights to another employee.
What if I registered with the wrong company name?
Edit it under Setup → Company after reaching the dashboard. Changes apply to new welcome emails and CSV exports.